Calibration Procedure and Sensor Accuracy
After you’ve installed your new device and setup the depth of your tank, you must calibrate the device in order to achieve a proper reading. This process is simple and is explained below.
You can not calibrate at 0% or really low levels, and you must not calibrate when your device is not fully functional yet.
Calibration Procedure
First press the “Connect” button on the transmitter and refresh your browser. This obtains the latest level reading online before calibrating.

Measure the amount of liquid in the tank. Then divide that measurement by the full empty depth of the tank.
Example: 72″ of water / 144″ tank height = 0.5
Multiply the above result with 100 to get the current percentage.
Example: 0.5 * 100 = 50%
Enter the result into the calibration input online once. Then hit the green save icon beside the form. You can find this form under your device “Features” button on the dashboard.
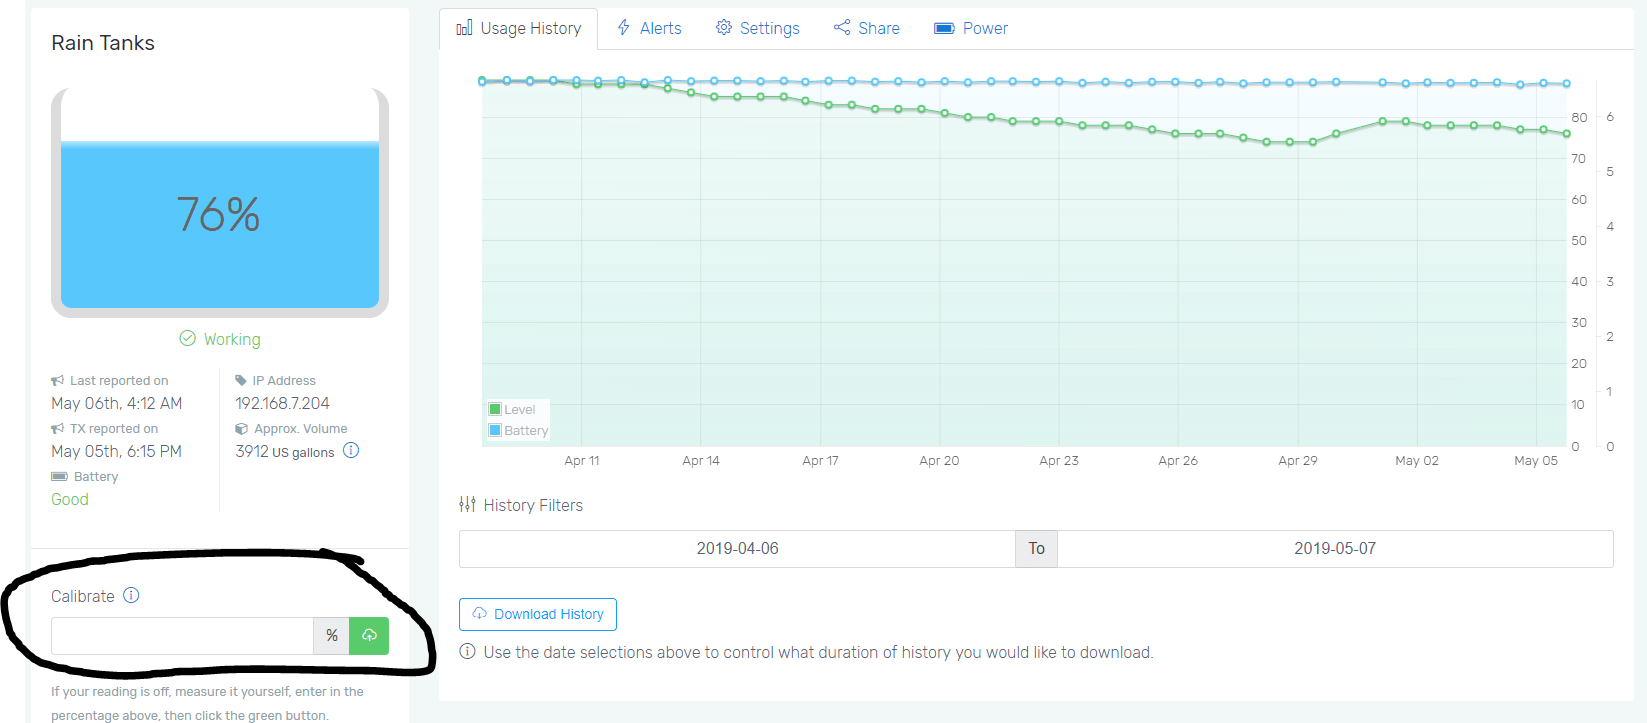
Finally, press the “Connect” button on the transmitter one more time for it to calibrate to the most recent reading.
If you have to calibrate often, you may have a different issue. Please see the other articles available to you for further troubleshooting. It is also acceptable for the reading to be off a few percent over the full range. This is due to environmental changes and the tolerances of the sensor.
Accuracy
It is acceptable for the reading to be off a few percent over the full range. This is due to environmental changes and the tolerances of the sensor.
The typical accuracy is ±3%
Resolution of Sensor
Pressure Range: 0 to 100kpa : Just to get an idea, 1 meter of water column is around 9.81 kpa but the tubing length and other environmental factors (such as altitude and temperature) changes that a bit.
Pressure Resolution: 0.096kpa per bit. This works to about 9.78mm of approximate resolution.